English
 Türkçe

The six terminals and few bridge pieces you see when you first open a motor's terminal box are actually the most critical decision determining the voltage at which the motor will run. The same motor can run at 230 V or 400 V with the correct bridging; but if you bridge it wrong, either the motor cannot deliver power or the winding burns out. In this article we explain step by step the terminal wiring of a three-phase motor, the U1-V1-W1 and U2-V2-W2 terminals, how to read the 230/400V (Δ/Y) marking on the nameplate, and which voltage calls for star (Y) or delta (Δ) bridging. Note: this topic differs from star-delta starting used to start a motor softly; here the goal is the correct bridging based on the supply voltage.
What Do the Six Terminals Mean?
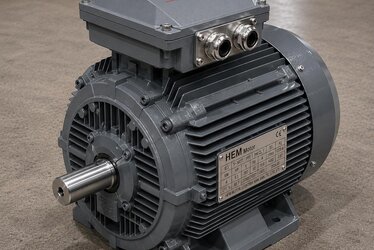
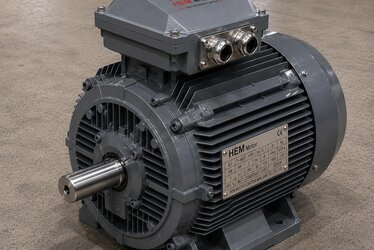
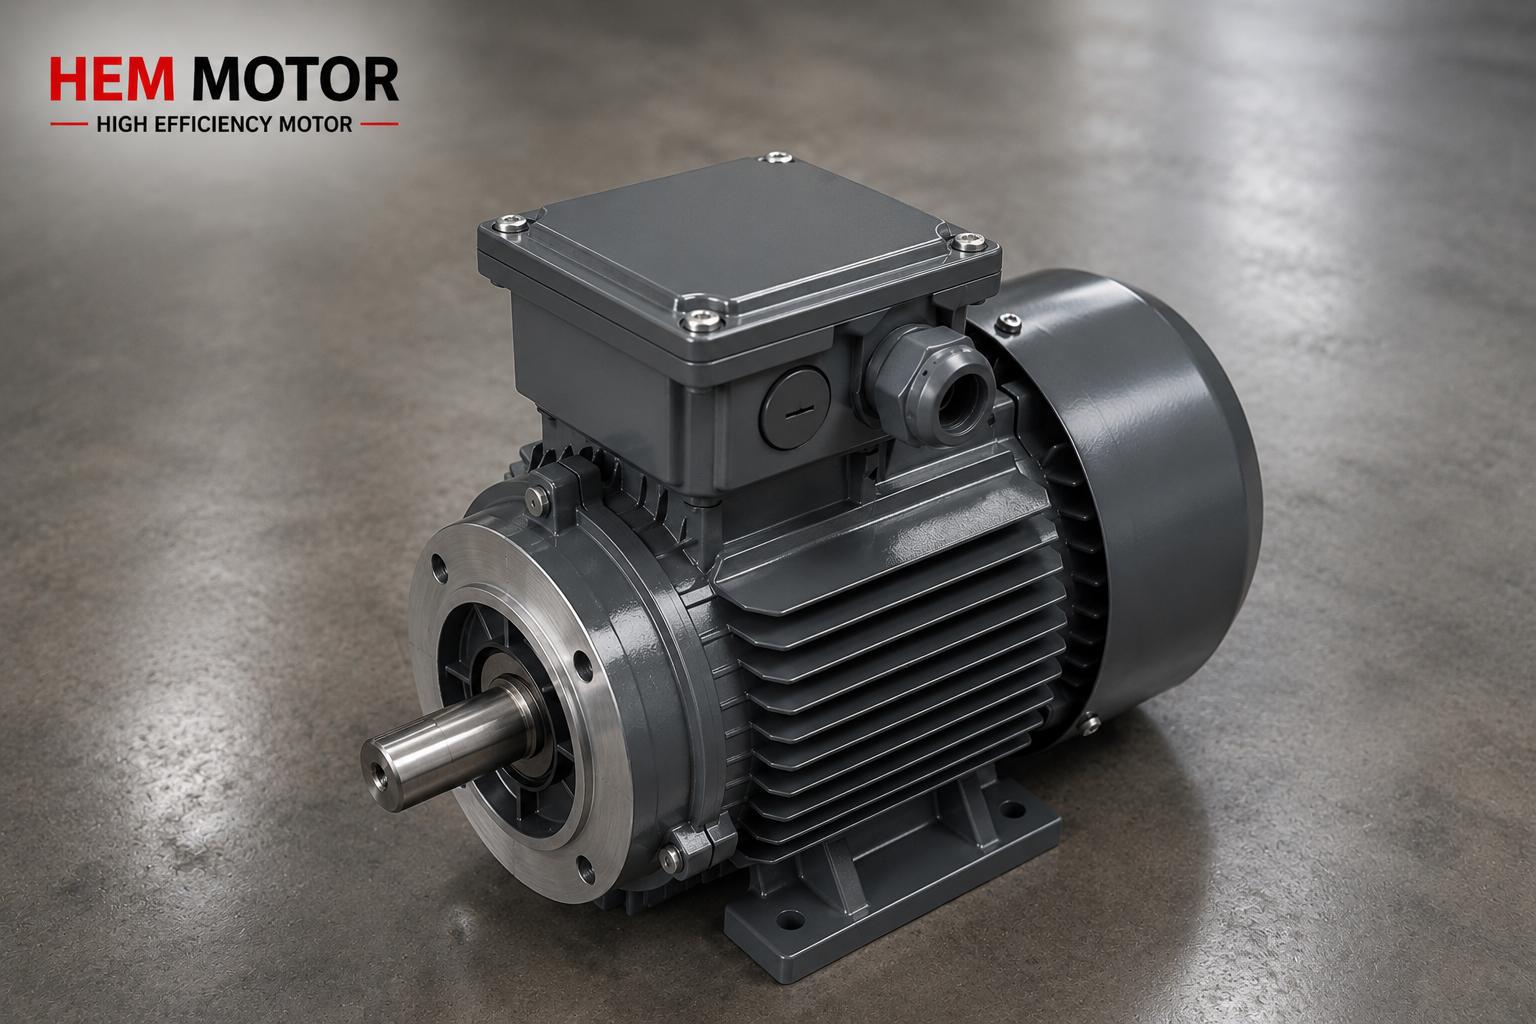
A three-phase asynchronous motor has three separate windings inside. Both ends of each winding come out to the terminal board; that makes six terminals. By standard, these are named: winding starts U1, V1, W1; winding ends U2, V2, W2. On the terminal board these six screws are arranged in a set order, and the brass bridge pieces placed between them determine how the windings connect to each other. This bridging is done in two basic ways: star (Y) or delta (Δ). As important as correct terminal and cable connection is preserving the IP protection; we covered this in our terminal box and cable connection article.
Star (Y) Bridging
In a star connection the ends of the three windings (U2, V2, W2) are joined together by a single bridge; this common point becomes the neutral (star point). The supply phase conductors then come to U1, V1, W1. In star, the voltage across each winding is √3 (about 1.73) times lower than the line voltage. So at 400 V line voltage each winding sees about 230 V.
Delta (Δ) Bridging
In a delta connection the end of each winding is joined to the start of the next (U1-W2, V1-U2, W1-V2 bridges). The supply phases come to these junction points. In delta each winding sees the full line voltage. So at 230 V line voltage each winding is exposed to 230 V.
How to Read 230/400V (Δ/Y) on the Nameplate
You will often see a marking like 230/400 V Δ/Y on the motor nameplate. This means: the motor is designed to run on a 230 V supply when connected in delta (Δ), and on a 400 V supply when connected in star (Y). The logic is always the same: lower voltage means delta, higher voltage means star, because the voltage the winding sees must stay the same (230 V in this example) in both cases. Reading the nameplate correctly is also the basis of ordering; our reading the IE3 motor nameplate and how to read an electric motor catalogue articles complement this.
On some high-power motors the nameplate reads 400/690 V Δ/Y. This motor is connected in delta on a 400 V supply and in star on a 690 V supply. You can also review 690 V applications in our 690V asynchronous motor selection article.
Which Bridging at Which Voltage?
In Turkey the most common scenario is a motor marked 230/400 V Δ/Y being connected in star to a 400 V three-phase supply. That is why most industrial motors leave the factory bridged in star. Let us make the decision clear:
- 400 V three-phase supply + nameplate 230/400V: star (Y) bridging. Join U2-V2-W2, phases come to U1-V1-W1.
- 230 V three-phase supply + nameplate 230/400V: delta (Δ) bridging. Winding ends connect to the next winding's starts.
- 400 V supply + nameplate 400/690V: delta (Δ) bridging.
The supply voltage must always match one of the two nameplate values. In our voltage tolerance and grid fluctuation article we covered the 380/400/415 V differences; these are within tolerance and do not change the bridging.
Risks of Wrong Bridging
Mixing up the bridging is one of the most dangerous mistakes for a motor:
Delta Instead of Star at 400 V
If you accidentally connect a 230/400V motor in delta on a 400 V supply, each winding sees 400 V instead of 230 V. That is √3 times more voltage on the winding; current shoots up, the winding overheats and burns out quickly. To catch such overheating early, temperature monitoring with PT100 and PTC thermistors and correct thermal protection are important.
Star Instead of Delta at 230 V
In this case each winding sees less voltage than required; the motor runs weakly, torque drops and it struggles under load. It does not burn out but does not deliver the expected power.
Wrong phase order is as much a problem as wrong connection; for rotation direction see our rotation direction and phase sequence article. Before commissioning, confirm all connections with our commissioning and first-start checklist.
Bridging Must Not Be Confused with Starting
Many people think of starting when they hear star-delta. But the topic of this article is connecting the motor with a fixed bridging based on the supply voltage. In star-delta starting, the motor starts in star and is then automatically switched to delta; the aim is to reduce the inrush current. We covered this separate topic in detail in our starting: star-delta vs softstarter and star-delta wiring diagram articles. For star-delta starting, the motor's delta operating voltage must equal the supply; that is, to use star-delta starting on a 400 V supply, the motor must be the type that runs in delta at 400 V (i.e. marked 400/690V).
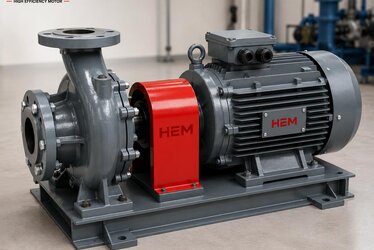
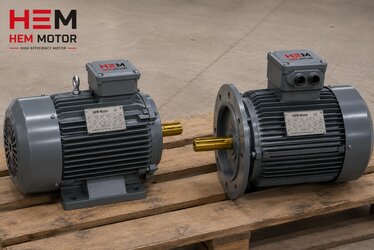
Choosing the Right Motor
Terminal flexibility lets you use the motor on different supplies. HEM Motor efficient electric motors, IE3 and IE4 ranges come with standard 230/400V or 400/690V options. For single-phase needs, our single-phase vs three-phase and HP-kW matching at 220V and 380V articles guide you. For running a three-phase motor on single phase, see our running a three-phase motor on 220V single phase article.
Grounding and Cable Connection in the Terminal Box
As important as correct bridging is the grounding and cable entry in the terminal box. The motor body must always be grounded; most motors have a dedicated grounding screw inside the terminal box or on the body. Grounding is the basis of electrical safety and must never be skipped; we covered the topic in our grounding and electrical safety article. Using the correct gland (cable fitting) at the cable entry preserves the terminal box's IP protection class; a wrong gland allows dust and moisture in, leading to short circuits. You can find this detail in our terminal box and cable connection and IP protection class selection articles.
The cable cross-section must suit the motor's rated current; a thin cross-section causes heating and voltage drop. Tightening the terminal screws with the correct torque is also important; a loose connection means contact resistance, heating and sparking. All these checks should be done before commissioning.
The Relationship Between Bridging and Efficiency
Correct bridging ensures not just that the motor runs but that it runs efficiently. A motor running at the wrong voltage operates outside its rated values; efficiency drops, power factor deteriorates and it wastes energy. These losses are even more pronounced in high efficiency class motors (IE3/IE4), because these motors are optimised for a narrow operating point. We covered the practical meaning of efficiency classes in our IE3 electric motor stock guide article. When correct voltage, correct bridging and correct power come together, the motor runs both long-lived and economically; you can review the power factor topic in our power factor and reactive article.
Voltage and Connection Information When Ordering
Clearly stating your supply voltage and the connection type you want when ordering a motor prevents the wrong motor arriving. Most standard motors come as 230/400V Δ/Y; but at high powers a 400/690V type may be needed. Giving this information when requesting a quote keeps the process fast and accurate; our information to give when requesting a quote article offers a checklist. If you are replacing an old motor, reading the voltage and connection information on the old motor's nameplate exactly is the safest way; our old-brand motor direct replacement article explains these steps. The HEM Motor efficient electric motors range is offered with terminal options suited to different supply voltages.
400/690V and Starting on High-Power Motors
As power grows, you are more likely to see the 400/690V Δ/Y marking on the motor nameplate. These motors run connected in delta on a 400 V supply, and in star on a 690 V supply. The advantage of 690 V systems is that they draw lower current at the same power; that means thinner cable and smaller protection elements. In high-power plants this is an important cost and safety advantage. We covered the topic in detail in our 690V asynchronous motor selection article. Because a 400/690V motor runs in delta on a 400 V supply, it is also suitable for star-delta starting, which reduces the inrush current of a large motor. We compared starting methods in our star-delta vs softstarter article. You can find the lead-time and commissioning plan for high-power motor supply in our high-power motor supply above 90 kW article.
Frequently Asked Questions
How do I connect a 230/400V motor to a 400 V supply?
You use star (Y) bridging: join U2, V2, W2 with the common bridge and connect the supply phases to U1, V1, W1. Each winding then safely sees 230 V and the motor runs correctly on the 400 V supply.
Will connecting in delta make the motor more powerful?
No. Connecting in delta does not strengthen the motor; it sets the voltage the winding sees. Connecting a 230/400V motor in delta on a 400 V supply over-volts the winding and burns it. Power depends on the motor's rating, not the bridging.
What if I lose the bridges?
Bridge pieces are standard brass connectors and spares are available. Never use random wire or unsuitable parts; contact resistance causes heating and sparking. Use the correct cross-section bridge for the motor and tighten the connection with a torque wrench.
Get a Quote
If you want a motor that suits your supply voltage, can be bridged correctly and has the right power, share your requirement. The HEM Motor team recommends the best terminal and connection type based on your supply voltage, power and speed. Call +90 (532) 345 49 86 for a quote or use our contact page.
Connection Checklist
- Has the supply voltage been measured? (230 V, 400 V or 690 V?)
- Have the Δ/Y values on the motor nameplate been read?
- Which of the two nameplate values does the supply voltage match?
- Is star bridging used for the higher voltage and delta for the lower?
- Are the bridge pieces the correct cross-section and firmly tightened?
- Have phase order and rotation direction been checked?
- Is the thermal protection set to the motor's rated current?